Protocol Overview and Instructions:
The Stakeholder Map gives an overview of all stakeholders, i.e. organizations and people who have a claim or interest in the problem and a potential solution. In a first step, start by determining the use cases. This can be a product, a project or the collaboration of different departments. In a further step, list all stakeholders involved. Thanks to well thought-out questions, we can also sharpen our understanding of the various stakeholders. Followed by the creation of a stakeholder map, where the various stakeholders are placed on the map. Subsequently, enter the relationship between the stakeholders and formulate the findings. Often it makes sense to first create the stakeholder map in the project team and later in the process to question the most important actors and to question the assumptions.
Stakeholder Map Protocol Template
Stakeholder Map Directions
Educator Thoughts:
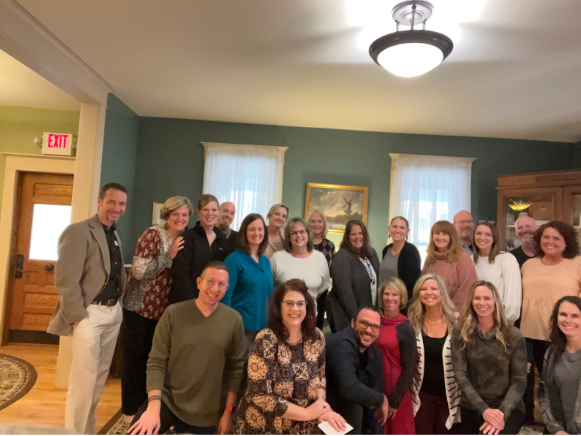
The protocol was Stakeholder. After our students were provided a bit more information from the initial client meeting, we explored who the ‘Stakeholders’ were. It was important to get them out of the building for the initial pitch/presentation. This allowed for the students to meet a small group of individuals who would be directly impacted by the project.
What was Challenging? Yes, again, the classic ‘you don’t know, what you don’t know’ syndrome hit at first. They warmed up to looking harding into a much larger list of ideas.
Where did I find success? The interest and energy knowing the students were chosen by an outside employee within the district was a compliment to their skills and talents (along with all of the amazing equipment and technology we are blessed to have)
“I appreciated that even after hearing a light amount of information at the initial meeting the students were excited to jump right in and get after it!” “Their excitement and energy truly moves through each other, but also gets me energized also!”
Student Quote:
"It was really cool to be able to see the space and meet a few staff members after we had done protocols."
"I'm ready to start coming up with more ideas!”
|
Meet the Educator:
Hello, my name is James Larsen and for the past 16 years have taught Printing and Graphics at the Careerline Tech Center. Since 2013 I have been actively involved with futurePREP’d including… IChallengeU, Unite4Insight, FUZE, the Academy and Summer Career Camp. As someone who teaches in a creative field, I absolutely love design thinking. Over the years I have been able to have many of my students pair up and work with local business, companies, and organizations while experiencing the rewards of PBL and and the creative process. "I love being able to take a ‘Deep Dive’ into the ‘why’ of new projects using Design Thinking. Each stage offers new protocols and possibilities that make Design Thinking and PBL projects always exciting." |


